Gypsum Board Repairs
Terraco offers specially formulated, easy to apply, high quality gypsum jointing, skimming and repairing compounds with excellent non-slump properties, ideal for patching plaster cracks.
Products for Gypsum Board Repairs
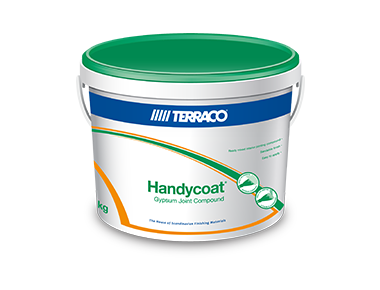
Handycoat GJC
Handycoat GJC (Gypsum Joint Compound) is a premium skimming & jointing compound for gypsum boards (walls & ceilings)
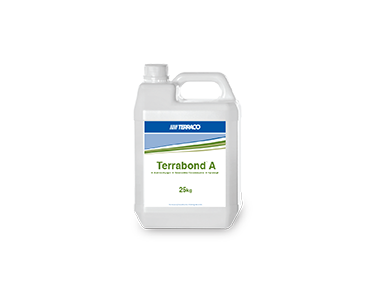
Terrabond A
Highly concentrated acrylic bonding agent
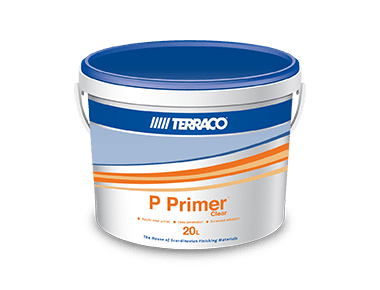
P Primer Clear
General purpose clear acrylic penetrating primer
P Primer Pigmented
General purpose pigmented primer suitable for tinting to match the finish colour
Installation guide: How to repair cracks in plaster and render walls
Diagnose whether a crack is shrinkage, structural or a movement joint failure, then cut, fill, reinforce and refinish it so it does not return.
- Typical duration
- 2D
- Tools
- Crack chaser disc or cold chisel, Filling and finishing knives, Crack width gauge or feeler card, Dust extraction / vacuum
- Materials
- Flexible crack filler (e.g. Handycoat Crack Filler), Fibreglass mesh tape, Bonding primer, Matching skim coat and finish
- 1
Classify the crack
Measure the width and note the pattern. Map cracks are shrinkage. Straight vertical cracks at joints are differential movement. Diagonal cracks from window corners, stepped cracks in masonry, or cracks that pass through structural elements need engineering assessment first.
- 2
Monitor if in doubt
Fix a paper or glass telltale across the crack, or mark and date the ends. Re-check after two to four weeks. A live, moving crack must be treated as a joint, not filled rigidly.
- 3
Open the crack
Cut a shallow V or U groove 5–10 mm wide along the crack with a crack chaser. Remove all loose, hollow and debonded plaster back to sound material and vacuum out dust.
- 4
Prime
Apply a bonding primer into the groove so the filler does not lose water to the substrate and shrink back.
- 5
Fill in layers
Press flexible filler firmly into the groove in layers no thicker than the data sheet allows, letting each layer set. Overfilling in one pass causes shrinkage and a visible line.
- 6
Reinforce wider cracks
For cracks over 1 mm or across dissimilar materials, bed fibreglass mesh tape into a wet coat spanning at least 100 mm each side, then feather out.
- 7
Skim and feather
Apply a skim coat over the repair, feathering 200–300 mm beyond the tape so the patch does not read as a raised band under grazing light.
- 8
Sand, spot-prime and finish
Sand flush when dry, spot-prime the repair to equalise porosity, then paint or coat the full wall plane — never just the patch — to avoid flashing.