Roofs
Terraco offers a wide range of roof coatings that provide flexible waterproofing with excellent weather resistance and long life flexibility. Check out the range below.
Products for Roofs
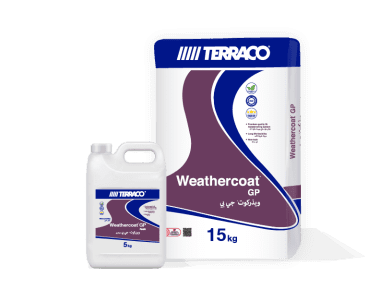
Weathercoat GP
Weathercoat GP is a high quality, versatile, permanent waterproofing system for roofs, facades, wet rooms and water retaining structures.
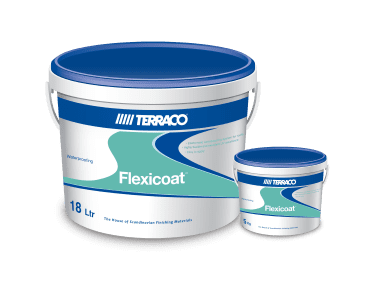
Flexicoat
Flexicoat is a liquid acrylic elastomeric waterproof coating for roofing applications
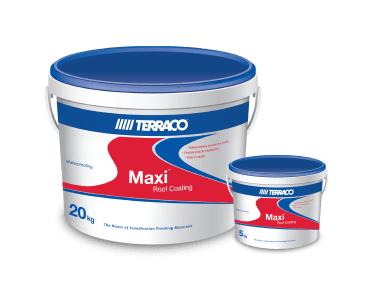
Maxi Roof Coating
Maxi Roof Coating is a one pack, economical, flexible waterproof roof coating with good weather resistance, ideally suited for use in areas with extreme climatic conditions.
Terrabond A
Highly concentrated acrylic bonding agent
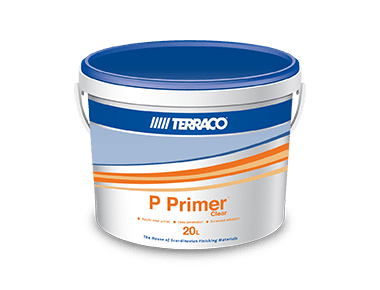
P Primer Clear
General purpose clear acrylic penetrating primer
P Primer Pigmented
General purpose pigmented primer suitable for tinting to match the finish colour
Installation guide: How to waterproof a bathroom before tiling
A wet-area waterproofing procedure covering falls, fillets, corner tape, two-coat membrane application and flood testing before tiles go down.
- Typical duration
- 4D
- Tools
- Angle grinder or scabbler for laitance removal, Block brush and 4 mm notched trowel, Spirit level or laser for fall check, Bucket, paddle mixer
- Materials
- Cementitious or flexible waterproof membrane (e.g. Terraseal), Reinforcing tape for corners and junctions, Polymer bonding primer, Non-shrink repair mortar for fillets
- 1
Strip and inspect
Remove old finishes back to sound screed or concrete. Check for cracks, honeycombing and loose sand-cement. Confirm all plumbing rough-in is complete and pressure tested — no penetration may be cut after waterproofing.
- 2
Correct the falls
Verify a minimum 1:100 fall towards the floor waste, and 1:80 inside a shower area. Re-screed flat or ponding areas; a membrane cannot compensate for standing water.
- 3
Form fillets and repair
Cut out cracks, fill with repair mortar, and form a 25 mm cove fillet at every wall-floor junction so the membrane is never asked to turn a sharp 90° angle.
- 4
Prime the substrate
Dampen or prime per the membrane data sheet. Cementitious membranes usually need a saturated surface-dry substrate; acrylic ones need a fully dry, primed one.
- 5
Band the movement points
Bed reinforcing tape into a wet first pass of membrane at all internal corners, wall-floor junctions, drain flanges and pipe penetrations. This detail is where nearly all wet-area leaks begin.
- 6
Apply two coats
Brush the first coat over the full floor and up walls to 1.8 m in showers and 150 mm elsewhere. Once touch-dry, apply the second coat at right angles to the first to eliminate pinholes. Respect the total wet film thickness in the data sheet.
- 7
Flood test
After full cure, plug the drain, flood the floor to 25 mm and hold for 24 hours. Check the ceiling and walls below. Only a passed flood test releases the area for tiling.
- 8
Tile with a compatible adhesive
Use a polymer-modified C2 adhesive over the membrane. Never mechanically fix through the membrane; if a fixing is unavoidable, seal it with membrane and tape.